

Even a few years ago, there was nothing called free SSL. But now we have it! Thanks to Let’s Encrypt.
In this article, we will explain how to install a Free SSL certificate for WordPress and also on any other website.
What Is An SSL Certificate?
Internet is the place where all the users share a lot of their personal information in various ways, such as signing into a website, purchasing any product, creating free accounts, etc. But, are all these personal information safe. Not when a website is not encrypted. And, here comes the SSL (Secure Socket Layers). It issues a unique certificate to each website that provides encryption technology to secure the information shared through that particular website.
Sponsored by many companies including Facebook, Google, Mozilla, Internet Research Group has come up with a free SSL certificate solution that is known as Let’s Encrypt. It is the best free SSL certificate that is issued for general public.
Benefits of SSL Certificate
- SSL certificate helps to protect sensitive information such as passwords, bank account details, card numbers, login credentials, etc.
- SSL certificates boost a website’s authentication.
- According to Google’s 2014 update, having an SSL certificate will boost your website’s ranking.
- Having an SSL certificate increases trust and your visitors feel more secure while browsing through your website.
Now, there are various ways to install an SSL certificate on a website. Today, we will discuss two ways to install Let’s Encrypt best free SSL certificate on WordPress and any other websites.
How to install Free SSL Certificate on WordPress
Process #1 – Let’s Encrypt SSL certificate installation using cPanel and Manual Verification (DNS)
- Go to www.sslforfree.com.
- Type in your domain name and click on Create Free SSL Certificate.
- Now, click on the option Manual Verification (DNS).

- In this step, click on Manually Verify domain. You will get the DNS records to update on your domain’s DNS management system.

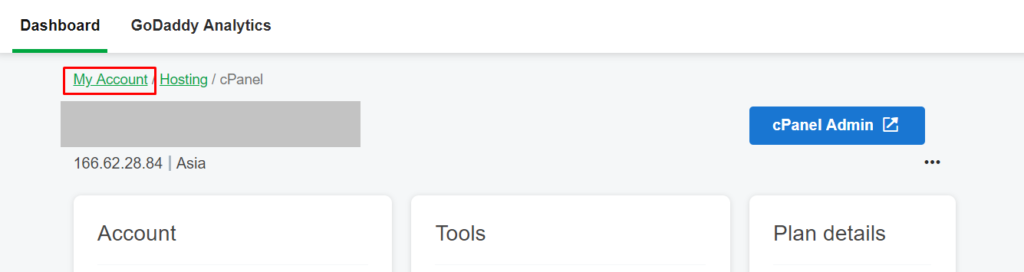
- Now, come back to your cPanel and click on My Account and locate the domain to which you want to allocate the DNS records.
- Click on DNS to open the DNS records. Go to the bottom of the page and click on ADD.

- Now, select the Type as text. In the Host field, Copy and Paste the code that you have received. Similarly, in the Value field, copy and paste the code that you have received.
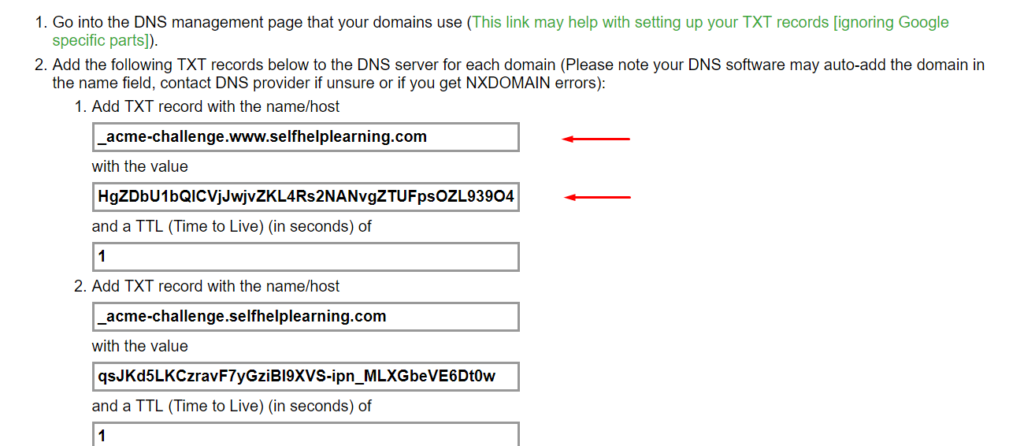
- On the TTL field, select the option Custom and enter 600 seconds.
- Now, click on ADD again and follow the same procedure to create the 2nd TXT record.
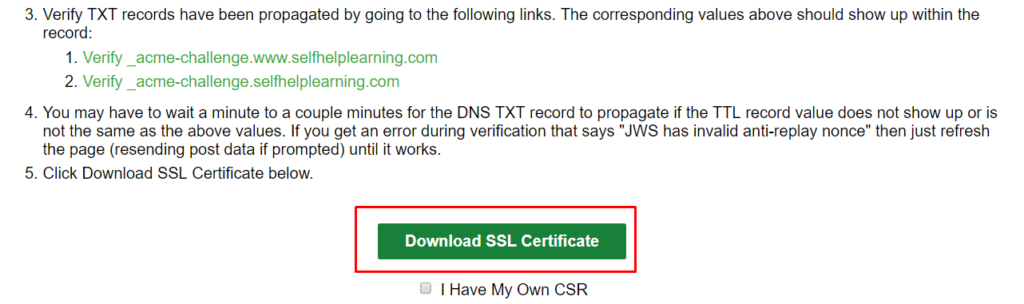
- Now, come back to SSL For Free website and verify if the TXT records are saved successfully.
- Once the verification is done, click on Download SSL certificate. (Uncheck “I have my own CSR).
- After a successful download of your SSL certificate, the page will show you all the certificate files.
- Now, go to your cPanel and locate the option SSL/TLS and click on it.

- Now, click on Manage SSL Sites.

- Select the domain and copy the Certificate, Private Key and Certificate authority Bundle codes from the downloaded SSL certificate on SSL for Free website.
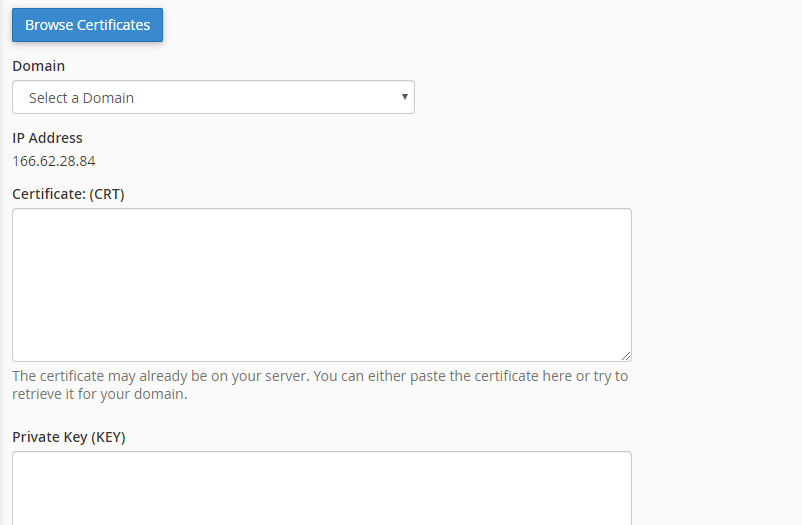
- Click on Install Certificate. That’s all. Your website is now safe and secure with SSL Certificate.
Process #2 – How to Install Free SSL Certificate on Hosting
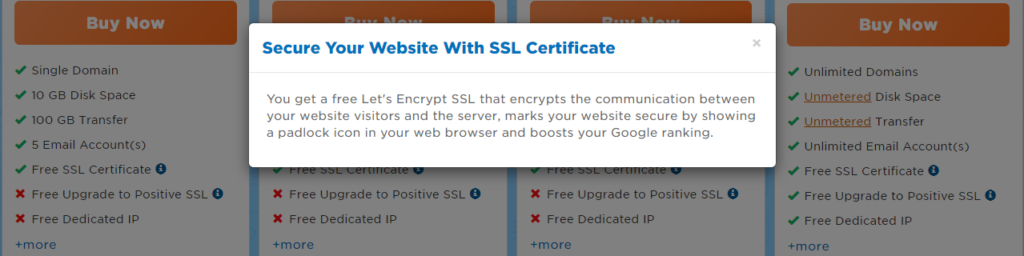
Most of the top-rated hosting providers now provide free Let’s Encrypt best free SSL Certificate with their hosting plans. So, the easiest way to add a free SSL certificate to your new WordPress website is to buy hosting from one of these providers who offer built-in SSL.
For example, we are showing you how to add Free SSL with Let’s Encrypt on Hostgator.
- First, check if your hosting plan has a free SSL feature. Always choose one that offers free SSL.
- Now, login to your cPanel dashboard in Hostgator.
- Then locate the Secure/HTTPs option and click on manage.
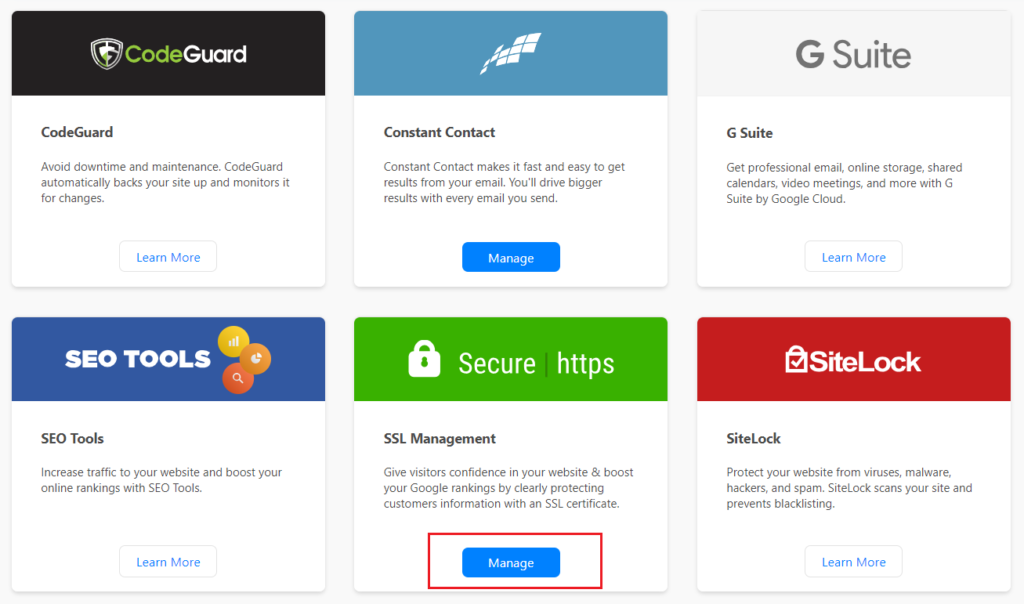
- As, your hosting plan already has an in-built SSL certificate, so it will be automatically active the certificate on your domain.

- Now, go to your WordPress Dashboard and Click on Settings > General
- You will see the below interface on your screen.
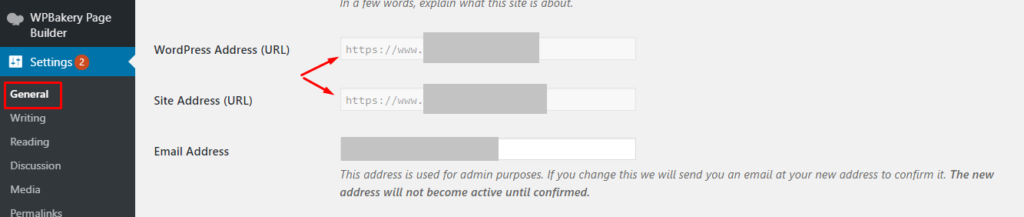
- Change the WordPress Address URL and Site Address URL from HTTP to HTTPS and click on Save
- That’s all. You have successfully added SSL on your WordPress Website.
Additional Steps:
To make sure your entire website is ready to use https and to fix the insecure content issue, install and activate the plugin Really Simple SSL. It will make sure your website is fully configured to load the SSL certificate and functional.